Pottery Questions About Drying, Cracking and Timing, Answered
Quick Answer: Most cracking is caused by uneven drying — thin parts and exposed edges lose water faster than thick parts and shrink sooner, and the resulting stress tears the clay. Slowing and evening out the drying solves the majority of it. The season matters more than people expect, because heated indoor air in autumn dries work much faster than summer air did.
The pot that cracked was probably fine when you made it. What happened to it happened on the shelf.

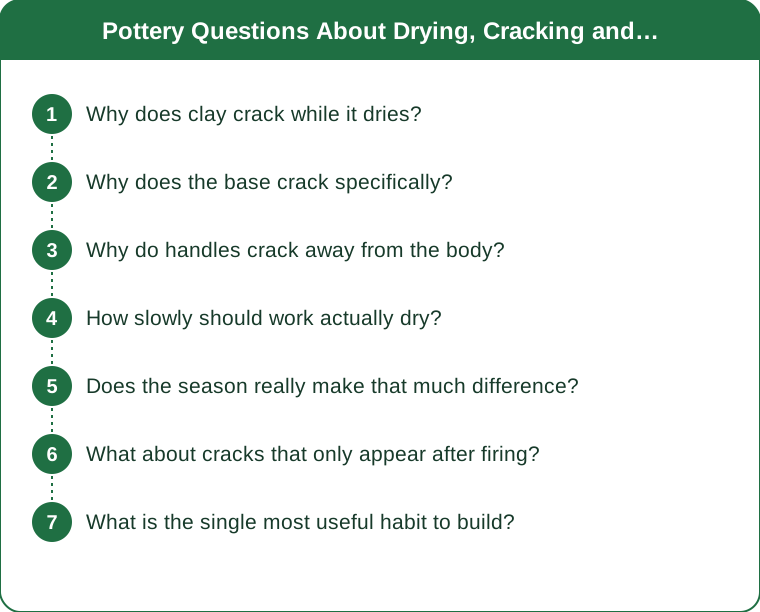
Why does clay crack while it dries?
Because clay shrinks as water leaves it, and it only cracks when different parts shrink at different times.
A uniformly drying pot shrinks uniformly and survives. A pot whose rim dries faster than its base has a rim that is trying to become smaller while the base is still full size, and the stress has to go somewhere. It goes into a crack, almost always at the point of greatest difference.
This is why cracks appear in such predictable places: at rims, at handle joins, at the base where the wall meets the floor, and anywhere the thickness changes abruptly.
The implication is that the fix is rarely about the clay body and almost always about controlling how fast and how evenly water leaves. Slower is better, and even is better than fast.
Why does the base crack specifically?
Because the base is usually the thickest part and it is sitting on a surface that stops it drying from below.
The walls of a pot dry from both sides. The base dries from one side only, and it is often the thickest section as well, so it holds water longest. Meanwhile the walls have already shrunk. The base is then being pulled outward by walls that have become smaller, and an S-shaped or straight crack appears across the floor.
Two things reduce it substantially. Compress the base thoroughly while throwing or building — compression aligns the clay particles and considerably increases resistance to this specific crack. And keep the base thickness closer to the wall thickness rather than leaving a heavy slab of clay at the bottom.
Drying on a porous surface helps too, because it lets some moisture leave downward rather than trapping it. A wooden bat or a plaster surface is better than plastic or metal for this reason.
Why do handles crack away from the body?
Because a handle is thin, exposed on all sides, and attached to something thicker.
The handle dries first, shrinks first, and the join is the point where a shrinking part meets a not-yet-shrinking part. It is the same mechanism as the base crack, geometrically inverted.
Handles need to be dried more slowly than the pot they are on, which sounds backwards and is exactly right. Covering the handle loosely with plastic or a damp cloth while the body catches up evens the two.
Attaching at the right moisture level matters just as much. Both pieces should be at a similar stage — leather hard is the usual advice — because joining a wetter piece to a drier one guarantees differential shrinkage at the join from the start. Score and slip properly, and press the join firmly enough to remove trapped air.

How slowly should work actually dry?
Slower than most home setups allow, and evenly is more important than slowly.
A week is a reasonable target for many pieces, longer for thick or complex ones. What matters more is that no part is racing ahead of another.
The standard method is loose plastic that is gradually opened. Fully covered for the first day or two, then a gap, then more, then uncovered. This slows the whole process and lets the thick sections catch up.
Turn work upside down once it is firm enough so the base gets air from below. This is one of the more effective single habits for base cracks.
Keep pieces away from draughts, direct sun, radiators and heating vents. A draught dries one side of a pot much faster than the other and produces warping as well as cracking.
And the autumn point, which catches almost everyone: once heating comes on indoors, the air becomes dramatically drier than it was in summer, and work that took a comfortable week in August dries in two or three days on the same shelf. The shelf did not change; the room did. Anything drying near a radiator in autumn is effectively being force-dried.
Does the season really make that much difference?
Yes, and it is the most common reason experienced hobbyists suddenly start losing work.
Relative humidity indoors falls substantially when heating comes on, because warming cold outside air lowers its relative humidity considerably. A room at comfortable temperature in October is much drier than the same room in July, even though it does not feel like it.
The consequences are specific: faster drying overall, larger differences between exposed and covered surfaces, and more cracking at rims and handles. Work that was reliably fine for two years starts failing, and nothing about the technique changed.
The response is to slow drying deliberately in autumn and winter. More plastic, longer covered, further from heat sources. Some people use a damp box — a sealed container with a plaster or damp base — which holds pieces at a constant moisture level indefinitely and is extremely useful when working across several sessions.
The same logic applies to working time. Clay on the wheel or the bench stiffens noticeably faster in a heated room, and a piece you would have had all afternoon with in summer may need to be covered between stages.
What about cracks that only appear after firing?
Those have different causes, and it is worth separating them from drying cracks.
Cracks that appear in the bisque are often drying cracks that were too fine to see, opened up by the firing. They usually run in the same characteristic places, which is the tell.
Trapped air or moisture causes more dramatic failures. Work that is not bone dry going into a firing can produce steam faster than it can escape. The standard precaution is a slow start to the firing with the kiln vented, which allows remaining moisture out gradually.
Thermal stress cracks come from heating or cooling too fast, particularly through the quartz inversion points where the clay body physically changes. These tend to be sharp and clean rather than following a join.
Glaze crazing — the fine network of lines in the glaze surface — is a different phenomenon again, caused by a mismatch between how much the glaze and the clay body contract on cooling. It is a fit issue between glaze and body rather than a crack in the pot.
If you are firing in a shared or communal kiln, the schedule may not be yours to control, which makes the drying stage the part you can actually influence — and it is where most of the problem lives anyway.
What is the single most useful habit to build?
Writing down what you did and what happened to it.
Drying problems are slow, and by the time a crack appears, the conditions that caused it are days in the past and forgotten. A short note — date made, thickness, where it dried, how it was covered — turns guesswork into pattern recognition within a few weeks.
The patterns that emerge are usually simple and specific to your space. The shelf near the window loses work. Pieces made on Sunday and left uncovered until Wednesday crack. Anything over a certain thickness needs two weeks. None of that is general knowledge; it is knowledge about your room.
Second most useful habit: touch your work. Clay that is cool to the touch still holds significant water; clay at room temperature is close to dry. It is a reliable, free test and it takes a second.
And the third: slow down before you speed up. Almost every drying problem is solved by more time and more covering, and almost none is solved by anything more sophisticated. When in doubt, wrap it and wait — which is unglamorous advice and accounts for most of the difference between work that survives and work that does not.
TL;DR:
- Cracking is caused by uneven drying — thin, exposed parts shrink before thick ones and the stress tears the clay.
- Compress bases, keep thickness even, dry on porous surfaces and turn work over once firm.
- Dry handles more slowly than the body they are attached to, and join pieces at matching moisture levels.
- Heated autumn air is far drier than summer air — the same shelf now force-dries work, so cover for longer.
- Keep a short log; drying patterns are specific to your room and only show up over weeks.
Wrap your current work more loosely than you think it needs and leave it a day longer. That single change fixes more cracking than any technique adjustment.
Keep Reading
This article is for general informational and styling purposes only. Fit, sizing, and product availability may vary.