Why Your Trimmed Foot Ring Keeps Going Wrong
Quick Answer: Almost every foot ring failure traces back to one of three variables: the clay was the wrong moisture state, the pot was not centred before trimming started, or the tool was working at the wrong angle. Trimming too dry causes chatter and cracks; trimming too wet causes smearing and collapse; an off-centre pot produces a wall that is thick on one side and cut through on the other. The foot ring shows every one of these because it is the last cut and the thinnest section.
The foot ring is not a decorative afterthought. It is the structural answer to how the pot dries and fires.

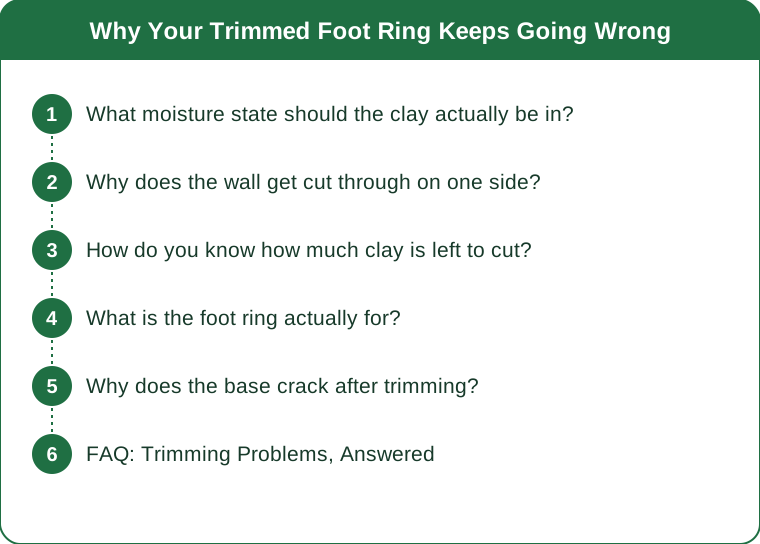
What moisture state should the clay actually be in?
Soft leather hard is the target for most trimming - firm enough to hold its shape under tool pressure, soft enough that the tool cuts a ribbon rather than scraping dust.
The ribbon test is the most reliable check. Correctly leather-hard clay comes off in continuous curls. Dust means too dry; a smear means too wet.
Too dry produces chatter, the regular rippled marks that appear when the tool skips rather than cuts, and it also makes the base far more likely to crack.
Too wet lets the foot ring collapse under its own weight as you undercut it, and it distorts the rim where the pot sits on the wheel.
Autumn and winter change drying times substantially. Heating season dries pots faster and unevenly, which is why the same schedule that worked in July leaves pots too dry in October.
Wrap and slow it down rather than racing it. A pot that is too dry can sometimes be rescued by wrapping in plastic overnight to let moisture redistribute, though it works better on thicker pots than thin ones.
Why does the wall get cut through on one side?
Because the pot was not centred on the wheel before trimming began, which is the single most common cause of a hole in the base.
Off-centre by two millimetres means the tool removes two millimetres more on one side than the other, and on a base already only five or six millimetres thick that is most of the material.
Centre by eye while the wheel turns slowly, watching the rim for wobble, then tap the pot toward the centre rather than sliding it.
Use concentric guide rings on the wheel head if your wheel has them - they are far more accurate than judging by eye alone.
Secure the pot properly once centred. Three small coils of clay pressed against the outside, or a properly fitted chuck, prevent the pot shifting mid-trim.
And check the centring again after securing, because the act of securing frequently moves the pot slightly - this is the step almost everyone skips.
How do you know how much clay is left to cut?
Tap the base and listen. A thick base gives a dull thud, a correctly trimmed one gives a higher, more resonant note, and a too-thin one sounds hollow and slightly alarming.
Use a needle tool to measure before you start. Push it through the centre of the base, mark the depth against your thumb, and you know exactly what you have.
Measuring feels like cheating and it is the mark of an experienced potter, not a beginner - the guesswork is what costs pots.
Aim for a base roughly as thick as the walls, which for most functional work means five to eight millimetres.
Uneven walls mean uneven trimming targets, so a pot thrown with a thick base and thin walls needs more removed than the tap test alone will suggest.
And check the depth from inside as well. Pots with a pronounced interior curve have far less material at the centre than the outside profile implies.

What is the foot ring actually for?
It lifts the pot off the surface it dries on, which allows air to reach the base and dramatically reduces uneven drying cracks.
It reduces the contact area during firing, which matters because the base and the shelf expand at different rates and a large flat contact area resists that.
It creates a place for glaze to stop. The outer edge of the foot ring gives a clean line to wax or wipe, which is why footless pots are so much harder to glaze neatly.
It changes the visual weight of the pot. A taller foot ring lifts the form and reads as lighter; a shallow one reads as grounded and stable.
It provides structural stiffness at the base, which is the part of the pot most prone to warping in the kiln.
And it should be wide enough to be stable - a foot ring much smaller than a third of the base diameter makes a pot that tips, however elegant it looks on the wheel.
Why does the base crack after trimming?
Uneven thickness between base and walls is the leading cause. Thick and thin sections dry at different rates and the stress concentrates where they meet.
Trimming too dry introduces micro-cracks that are invisible until the firing opens them up, which is why chatter marks so often precede a crack.
Compressing the base at the throwing stage matters more than anything done at trimming. A base that was not compressed on the wheel will often crack regardless of how well it is trimmed.
S-cracks in particular start at throwing, not trimming, and no amount of careful trimming fixes an uncompressed base.
Drying too fast after trimming is a separate cause. The freshly cut surface is more permeable than the burnished outside, so a trimmed pot loses moisture faster from the base and needs covering.
Cover loosely with plastic for the first day after trimming, which evens out the drying between the cut base and the rest of the pot - this single habit prevents a lot of autumn cracking.
FAQ: Trimming Problems, Answered
How do I know when a pot is ready to trim?
When the surface no longer marks with light finger pressure but the tool still cuts continuous ribbons. Dust means you waited too long.
What causes chatter marks?
Usually clay that is too dry, a dull tool, or too much pressure. Check tool sharpness first - it is the cheapest fix.
How thick should the base be?
Roughly the same as the walls, typically five to eight millimetres for functional work. Measure with a needle tool rather than guessing.
Can I re-wet a pot that got too dry?
Sometimes. Wrap it in plastic overnight so moisture redistributes from the thicker sections. It works better on thicker pots and rarely rescues a very dry thin one.
Why does my pot keep coming off-centre?
Most often the securing step moves it. Centre, secure, then check centring again before cutting.
Do all pots need a foot ring?
No. Many forms work with a flat trimmed base, particularly wide shallow ones. The foot ring earns its place on forms that need drying airflow, glaze definition, or visual lift.
TL;DR:
- Almost every foot ring failure comes from wrong moisture state, an off-centre pot, or a bad tool angle.
- Soft leather hard is the target: the tool should cut continuous ribbons, not dust and not smear.
- Centre, secure, then check centring again - the securing step is what moves the pot and causes cut-through bases.
- Measure the base with a needle tool rather than guessing; aim for base thickness roughly equal to wall thickness.
- Cover a freshly trimmed pot loosely for a day, because the cut base dries faster than the rest and that mismatch is what cracks.
S-cracks start at throwing, not trimming. If they keep appearing, compress the base harder on the wheel.
Keep Reading
This article is for general informational and styling purposes only. Fit, sizing, and product availability may vary.