How Do You Know When Clay Is Actually Leather-Hard?
Quick Answer: Leather-hard means the clay has lost enough water to hold its shape without deforming, but still has enough to accept trimming, joining, and carving without crumbling. Test it by pressing a thumbnail into the base — it should leave a clean dent without the clay sticking to your nail, and the surface should feel cool but not wet.
Every tutorial says “wait until leather-hard.” None of them say how long that is, because the honest answer is that it depends on six things and half of them change with the weather.

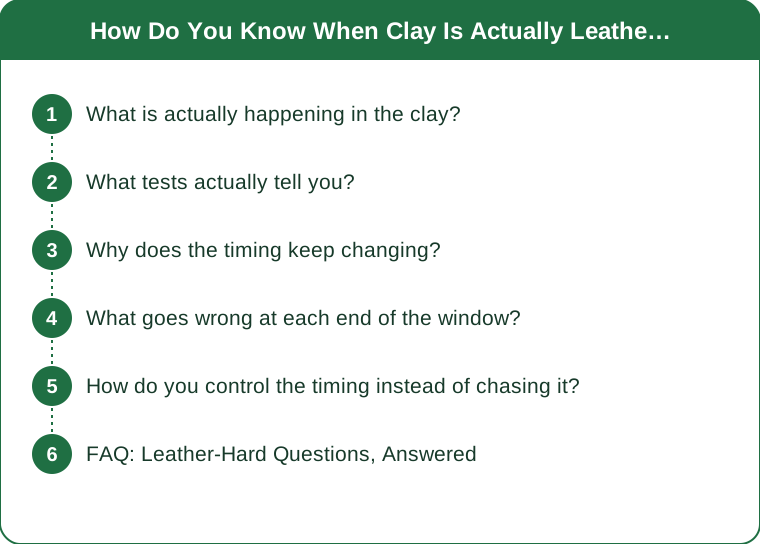
What is actually happening in the clay?
Water is leaving, in two distinct stages, and leather-hard sits at the boundary between them.
Wet clay contains water in two places: between the platelets, where it acts as a lubricant and lets them slide past each other, and within the pore structure. The first stage of drying removes the water between platelets, which is what allows shrinkage and what makes plastic clay plastic. As it goes, the platelets pack closer, the piece shrinks, and it gets progressively stiffer.
Leather-hard is roughly the point where most of that inter-platelet water is gone but the pores are still damp. The clay can no longer be reshaped, but it can still be cut cleanly and it will still bond to other leather-hard clay.
The second stage — pore water leaving — happens after that and produces bone-dry clay, which shrinks very little further but becomes fragile and will not join to anything.
Why this matters practically: trimming, handles, attaching, carving, and burnishing all require the first stage complete and the second not started. That is a genuine window, and it is not very wide.
What tests actually tell you?
Four, in order of reliability.
The thumbnail test. Press a nail into the base or foot area. At leather-hard it leaves a crisp dent, the clay does not stick to your nail, and no water appears. If clay comes away on your nail, too soft. If it resists and the dent is shallow and chalky, too dry.
The temperature test. Touch the piece to your cheek or the inside of your wrist. Damp clay feels distinctly cool because water is evaporating from it. Leather-hard feels cool but not cold; bone-dry feels room temperature. This is more sensitive than fingertips and it is the test experienced potters use without thinking about it.
The color test. Most clay bodies lighten noticeably as they dry, and leather-hard usually sits at a visible mid-tone. This is useful within a single clay body you know well and useless across different bodies.
The sound test. Tap the side gently. Wet clay sounds dull; leather-hard has a slightly firmer note; bone-dry rings. Least precise, but fast when you have a shelf of pieces to sort.
Use two of these together. Any one alone can mislead you, particularly on a piece with uneven wall thickness.
Why does the timing keep changing?
Because at least six variables affect it, and several of them are seasonal.
- Humidity. The single biggest factor. A piece that reaches leather-hard in six hours in a dry heated studio can take two days in a humid one
- Air movement. A piece near a fan or an open window dries several times faster, and unevenly
- Wall thickness. Thick walls hold more water and lag considerably. A thick base under thin walls is the classic uneven-drying setup
- Clay body. Porcelain generally dries faster and less forgivingly than stoneware; grogged bodies dry faster than smooth ones
- Surface exposure. A wide open bowl loses water far faster than a narrow-necked vase of the same weight
- Whether it is still on the bat. The base cannot dry through a plaster or wood bat, so the rim reaches leather-hard well before the foot does
The seasonal note is worth flagging right now: late August into September is when many studios shift from summer humidity to heating-season dryness, and pieces that took two days in July start reaching leather-hard overnight. That transition catches people every year, usually as unexpected cracking.

What goes wrong at each end of the window?
Distinct and recognizable failures, which makes diagnosis easy after the fact.
Too soft:
- The piece deforms when you center it for trimming — an oval foot ring is the giveaway
- Trimming tools drag and tear rather than cutting a ribbon
- Handles slump or pull the wall out of round
- Anything you carve smears instead of cutting cleanly
Too dry:
- Trimming produces powder and chatter marks instead of curls
- Joins fail. Attaching a handle to clay that is past leather-hard is the most common cause of handles that crack off during drying or firing, because the two parts shrink at different rates from that point on
- Score-and-slip does not create a real bond, just a mechanical one that separates later
- The surface chips rather than compressing when burnished
The cruel case is the mismatch: a leather-hard body with a bone-dry handle, or a rim that dried much faster than the base. Two parts of one piece at different moisture levels shrink by different amounts, and the difference goes into the join as stress. That is where most drying cracks come from.
How do you control the timing instead of chasing it?
By slowing the fast parts rather than speeding the slow parts.
Plastic, loosely. Draped plastic slows evaporation without stopping it. Tighter for slower, looser for faster. This is the main control and it is more precise than people expect.
Cover selectively. If the rim is racing ahead of the base — which it almost always is — cover just the rim with a plastic strip or damp cloth. Even drying beats fast drying every time.
Get it off the bat. Once the piece is firm enough to move, taking it off the bat lets the base start drying and closes the gap with the rim.
Turn it upside down. Once the rim is firm, inverting a bowl or cup exposes the thick base to air and shelters the thin rim. This one habit prevents a large fraction of base cracks.
Use a damp box for holding. A lidded tub with a plaster or damp-sponge base will hold a piece at leather-hard for days, which means you can throw on Saturday and trim whenever you get to it rather than at 11pm because the window is closing.
And the general principle behind all of it: thick parts and thin parts need to arrive at the same dryness at the same time. Every technique above is a way of engineering that.
FAQ: Leather-Hard Questions, Answered
How long does it usually take?
In a typical studio at moderate humidity, somewhere between 8 and 24 hours for a normal cup or bowl left uncovered. But the range across real conditions runs from about 4 hours to several days, which is exactly why the tests matter more than the clock.
Can I bring a piece back if it has gone too dry?
Partly. Mist it lightly, wrap it in plastic, and leave it overnight — moisture will redistribute and it will come back toward leather-hard. Do not spray it heavily, which causes uneven re-wetting and cracks. And once it is fully bone-dry, this rarely works well enough to trim from.
Is there a stage between leather-hard and bone-dry with a name?
Potters often say “soft leather-hard” and “hard leather-hard” for the early and late parts of the window. Soft leather-hard is right for attaching handles and carving; hard leather-hard is better for trimming a crisp foot. The distinction is genuinely useful once you start noticing it.
TL;DR:
- Leather-hard is the window where clay holds its shape but still cuts, joins, and carves cleanly
- Test with a thumbnail dent plus the cheek-temperature check; use two tests, not one
- Timing swings from 4 hours to several days depending on humidity, thickness, and airflow
- Handles and joins fail when two parts of one piece are at different moisture levels
- Control it by slowing the fast parts — loose plastic, selective covering, and inverting once the rim is firm
The reason nobody gives you a number is that the number is genuinely different in every studio and every season. Learn the two tests, and you stop needing one.
Keep Reading
This article is for general informational and styling purposes only. Fit, sizing, and product availability may vary.