Why the Trimming Stage Wrecks More Pottery Pieces Than the Wheel Ever Does
Quick Answer: Trimming — the step where a leather-hard piece gets its base refined and final shape defined — is responsible for a huge share of cracks and structural failures that show up after firing, far more often than the original wheel-throwing.
Because trimming happens after the exciting, hands-on part of throwing is already done, it’s easy to rush through it, and rushing is exactly what causes the most common problems.

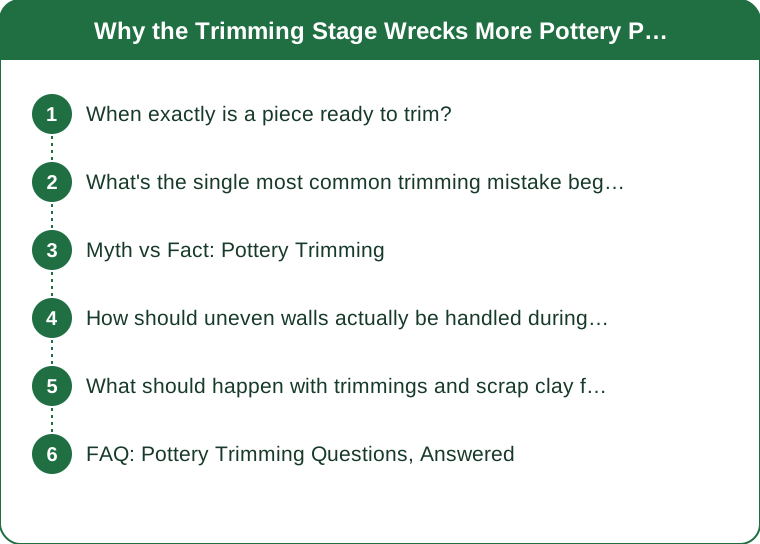
When exactly is a piece ready to trim?
The clay needs to be leather-hard: firm enough to hold its shape and support gentle pressure, but still slightly cool and faintly damp to the touch, not bone dry. Trimming too early, while the clay is still soft, causes the walls to deform or collapse under the trimming tool’s pressure. Trimming too late, once the clay has dried past leather-hard, makes the clay brittle and prone to cracking or chipping unpredictably as the tool catches on hardened spots.
The safest test is pressing a fingernail gently into the base — leather-hard clay resists but shows a faint mark, while overly dry clay barely marks at all.
What’s the single most common trimming mistake beginners make?
Trimming the base too thin in the pursuit of a lightweight, elegant piece is the most frequent cause of cracks appearing during the bisque firing days or weeks later. A base that looks fine right after trimming can still be too thin to survive the stress of firing, especially in wider bowls and plates where the base has to support more surface area.
A simple double-check — gently tapping the base and listening for a solid, even sound rather than a hollow or uneven one — catches a lot of these problems before they ever reach the kiln.
Myth vs Fact: Pottery Trimming
Myth: a piece that survives trimming without visible damage is safe to fire. Fact: many trimming problems, like an uneven or too-thin base, don’t show any visible sign until the stress of firing exposes them — trimming looking clean isn’t the same as trimming being structurally sound.
Myth: trimming is just cleanup work with no real skill involved. Fact: trimming determines a piece’s final wall thickness, balance, and base strength, all of which matter more to whether a piece survives firing than almost anything done during the initial throwing.

How should uneven walls actually be handled during trimming?
Uneven wall thickness, where one side of a piece is noticeably thicker than the other, needs to be corrected gradually and symmetrically rather than aggressively shaved down in one pass on the thick side alone. Trimming too aggressively on just the thick side can throw the piece off-balance and create a new unevenness in the opposite direction.
Working in light, even passes all the way around the piece, checking thickness with fingers at multiple points as you go, keeps the correction controlled and avoids overcorrecting past the point where the walls are actually even.
What should happen with trimmings and scrap clay from this stage?
Trimming produces a surprising amount of leftover clay, and letting it dry out and go to waste is one of the more avoidable costs of the process for beginners working with limited clay supply. Fresh trimmings, if collected promptly before they dry past workable, can usually be reclaimed by soaking and reworking them back into usable clay for future pieces.
Letting trimmings sit out and dry completely turns them into a much longer reclaim process, involving fully drying, breaking down, and rehydrating the clay from scratch, so collecting them while still damp saves real time down the line.
FAQ: Pottery Trimming Questions, Answered
What tools do I actually need to start trimming?
A basic trimming tool (a metal loop tool) and a needle tool for checking thickness cover almost everything a beginner needs — specialty trimming tools can wait until specific projects call for them.
Can I fix a piece that cracked after firing due to trimming issues?
Once a piece has cracked from firing stress, it generally can’t be repaired back to functional use, though some potters keep cracked pieces as decorative learning pieces rather than discarding them entirely.
How do I know if I’m trimming too much clay away?
If the walls start to feel thin enough to flex slightly under light finger pressure, that’s a sign to stop — functional pieces generally need at least a few millimeters of consistent wall thickness to survive both use and firing.
TL;DR:
- Most post-firing cracks trace back to trimming mistakes, not the original throwing
- Trim only at leather-hard — not too soft, not too dry
- A too-thin base is the single most common trimming failure
- Correct uneven walls gradually and symmetrically, not with one aggressive pass
- Collect fresh trimmings promptly if you want to reclaim the clay
The wheel gets all the attention, but trimming is where a lot of pieces quietly decide whether they’ll survive the kiln.
Keep Reading
This article is for general informational and styling purposes only. Fit, sizing, and product availability may vary.