Why Does My Clay Behave Differently in August?
Quick Answer: Clay behaves differently in August because drying rate is driven by humidity, airflow and temperature, not by the clay itself. In hot dry conditions the surface loses water far faster than the interior, creating the moisture gradient that causes warping, rim cracking and S-cracks. The fix is to slow drying deliberately — loose plastic, damp cloth, and drying rims slower than bases — rather than changing your clay or your technique.
The same mug form you have thrown fifty times cracked at the rim overnight.
You did nothing differently. The room did.
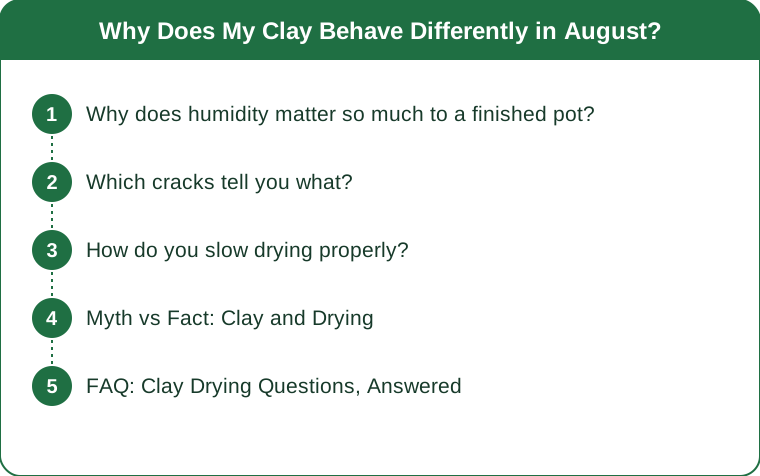
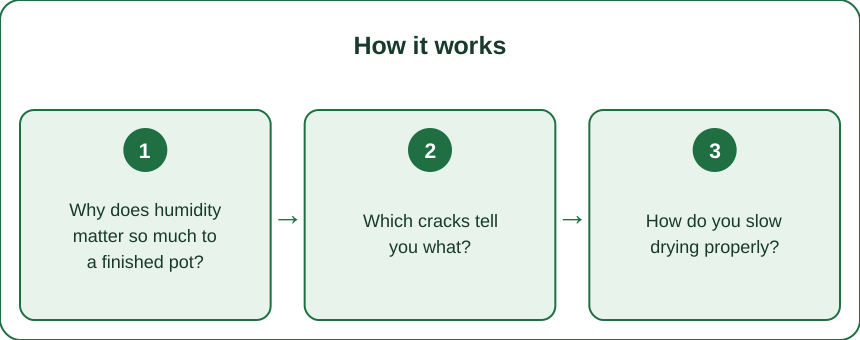
Why does humidity matter so much to a finished pot?
Because every clay problem after throwing is really a moisture-gradient problem.
Clay shrinks as it dries, by roughly 5 to 8 percent from wet to bone dry, and again in the firing. Shrinkage is not the issue. Uneven shrinkage is.
The surface dries first, always. Water leaves from the exposed surface, so the outside shrinks while the interior is still full-sized. That difference creates tension, and tension above the wet clay’s strength becomes a crack.
Low humidity widens the gradient. At 30 percent relative humidity, surface evaporation is dramatically faster than at 70 percent, while the rate at which water can migrate from the interior barely changes at all.
Airflow matters as much as humidity. A fan or an open window can dry a rim faster than sun would, and moving air is the most common unrecognised cause of a bad drying week.
Thin sections dry first. Rims, handles and spouts are thin and exposed; bases are thick and sitting on a surface. That is precisely why rims crack and bases S-crack.
Which cracks tell you what?
Cracks are diagnostic, and each type points to a specific cause.
Rim cracks — usually vertical, at the top edge. Rim dried far ahead of the wall. Cover the rim, not the whole pot.
S-cracks in the base. Compression problem plus a drying problem. The base was not compressed enough during throwing, then dried unevenly because it sits on a bat.
Handle join cracks. Attached at the wrong relative dryness. Handle and body must be at similar moisture — both leather-hard — or one shrinks away from the other.
Warping without cracking. Uneven drying that resolved as distortion rather than failure. Common with fans and with pots dried on one side near a window.
Cracks appearing after bisque. Almost always a drying stress that existed invisibly before firing. Firing revealed it rather than caused it.
Fine surface crazing on glaze. Different problem entirely — a glaze-to-body fit issue, not a drying one.

How do you slow drying properly?
The whole craft of drying is controlled slowness, and the tools are cheap.
Loose plastic, not tight. A dry cleaner bag draped over creates a humid microclimate while still allowing gradual loss. Sealed tight, the pot simply does not dry.
Cover the rim specifically. A strip of plastic over just the rim, leaving the body open, evens the rate between thin and thick sections. This single trick solves most rim cracking.
Dry upside down when the form allows. Inverting a bowl or mug slows base drying and lets the rim, which is now against the shelf, dry at a similar rate to everything else.
Get it off the bat early. A pot left on a plaster or wooden bat dries only from above, guaranteeing a gradient. Move to a rack once it holds shape.
Never use a fan on greenware. Speeding up the surface is exactly the wrong intervention, even though it is the intuitive one.
Late-summer studio note: as autumn arrives and heating comes on, studios get drier than they were all summer. The heating season is the second high-risk window each year, and it starts sooner than most people adjust for.
Myth vs Fact: Clay and Drying
Myth: cracking means the clay body is wrong. Fact: the overwhelming majority of drying cracks are environmental or technique-related, not material.
Myth: drying faster saves time. Fact: it costs time, because remaking a cracked pot takes far longer than waiting two extra days.
Myth: you can rescue a dry crack with slip. Fact: slip applied to bone-dry clay shrinks at a different rate and almost always reopens in the bisque. Fix cracks at leather-hard with a paper-clay slip, or accept the loss.
Myth: thicker pots are safer. Fact: thicker pots have a steeper internal gradient and are more prone to cracking, not less. Even thickness matters more than thickness itself.
Myth: all clay shrinks the same. Fact: shrinkage varies substantially between bodies — porcelain typically shrinks more than stoneware, which is exactly why porcelain is less forgiving in a dry room.
Myth: it must be bone dry before bisque. Fact: this one is true and non-negotiable. Remaining water turns to steam in the kiln and pots explode. When in doubt, wait another day — and a cool pot against your cheek still holds water.
FAQ: Clay Drying Questions, Answered
How long should a mug take to dry?
In a normal studio, three to seven days to bone dry. If it is happening in one day, it is drying too fast.
How do I know a pot is bone dry?
It reaches room temperature and stops feeling cool against your cheek. A cool pot still holds water.
Can I dry pots outside in summer?
Only in shade with no wind, and it is rarely worth the risk. Sun and breeze are the fastest route to a cracked rim.
What humidity should a studio be?
Roughly 50 to 60 percent is comfortable for drying. Below 40 percent, cover everything.
Is a damp box worth it?
For anything you cannot finish in one session, yes. It is the most useful cheap addition to a home studio.
Why do my handles keep cracking off?
Moisture mismatch at joining. Both pieces should be leather-hard, the join scored and slipped, and the handled pot dried slowly under plastic for at least a day.
TL;DR:
- Clay problems in dry weather are moisture-gradient problems, not clay problems.
- Surface dries faster than interior; thin rims and handles dry fastest of all.
- Slow it with loose plastic, rim-specific covering, and drying upside down.
- Never use a fan on greenware, and get pots off the bat early.
- Crack type is diagnostic: rim cracks mean uneven rate, S-cracks mean compression plus drying.
Cover just the rims on your next batch and leave everything else the same. It is the single highest-return change in the whole drying process.
Keep Reading
This article is for general informational and styling purposes only. Fit, sizing, and product availability may vary.